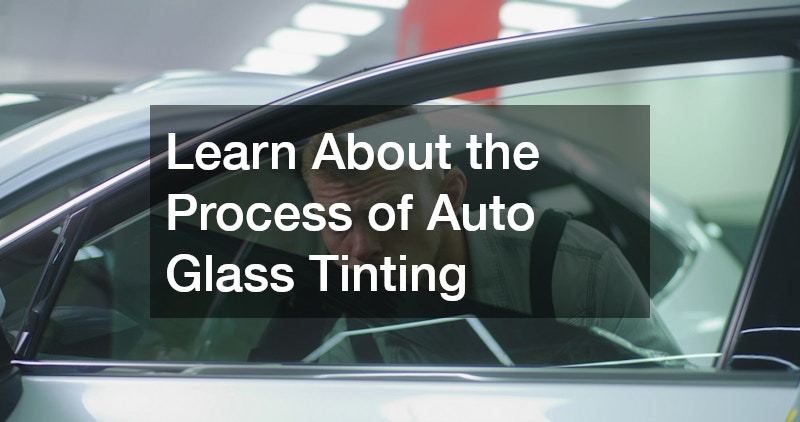
Modern vehicles are designed to provide comfort, safety, and style, and one popular upgrade that supports all three is window film installation. Understanding how this service works can help car owners make informed decisions, set realistic expectations, and maintain their investment over time. From preparation to final curing, the process involves careful steps that ensure durability, clarity, and performance.
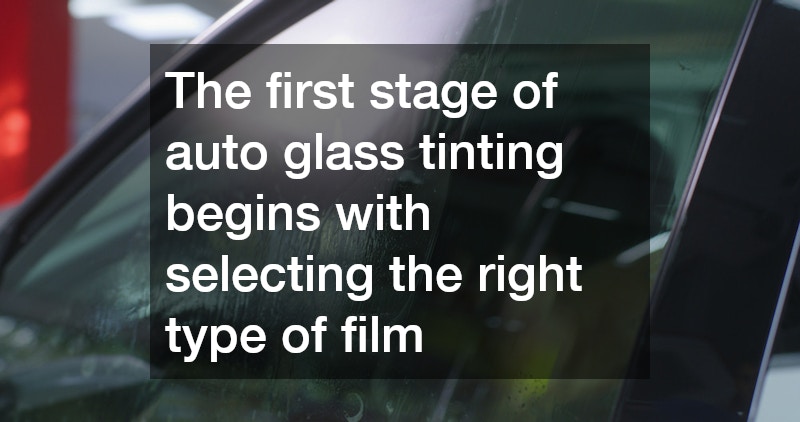
The first stage of auto glass tinting begins with selecting the right type of film. There are several varieties available, including dyed, metallic, carbon, and ceramic films.
Each option offers different benefits. Dyed films are typically more affordable and provide a darker appearance, while ceramic films excel at heat rejection and UV protection without interfering with electronic signals. A professional installer will usually discuss local regulations, driving habits, and personal preferences before recommending a suitable product.
Once the film type is chosen, preparation becomes the focus. Proper preparation is critical because even small particles of dust or debris can affect the final appearance. The installer thoroughly cleans the interior side of the windows using specialized solutions and tools. This step removes dirt, grease, and residue that could prevent the film from adhering correctly. The work environment is often controlled to reduce airborne dust, ensuring a smooth and blemish-free finish.
After cleaning, the film is measured and cut. Many professionals use computer-cut systems that are pre-programmed with exact dimensions for specific vehicle models. This technology increases precision and reduces the risk of mistakes. In some cases, installers may hand-cut the film directly on the glass, a method that requires significant skill and experience. Accurate cutting ensures that the film fits the window perfectly without gaps or overhangs.
The application phase is where the transformation truly begins. A mounting solution, typically a mixture of water and a mild soap, is sprayed onto the glass. This solution allows the film to be positioned and adjusted before it fully adheres. The film is then carefully placed on the inside of the window, and a squeegee is used to remove excess water and air bubbles. This step requires patience and precision, as improper technique can lead to creases or trapped air.
Heat shaping may be necessary, especially for curved windows like rear windshields. Using a heat gun, the installer gently warms the film so it conforms to the shape of the glass. This process ensures a tight fit and long-lasting adhesion. The film gradually bonds to the glass as the moisture evaporates, creating a seamless appearance.
Once the film is applied, curing begins. Curing is the period during which the adhesive fully sets, and it can take several days depending on weather conditions and film type. During this time, drivers are usually advised not to roll down their windows or clean the interior glass. It is normal to see slight haziness or small water pockets initially, but these typically disappear as the film dries.
Beyond aesthetics, the benefits of auto glass tinting extend to comfort and protection. Quality window film can significantly reduce heat buildup inside the vehicle, making driving more comfortable during hot weather. It also blocks a high percentage of harmful ultraviolet rays, which helps protect upholstery from fading and reduces skin exposure for passengers. Additionally, tinted windows can minimize glare from sunlight and headlights, improving visibility and reducing eye strain.
Maintenance is relatively simple once the film has fully cured. Gentle cleaning with non-abrasive cloths and ammonia-free cleaners helps preserve clarity and prevent damage. With proper care, high-quality film can last for many years without peeling or discoloration.
Understanding the process also highlights the importance of professional installation. While DIY kits are available, professional services offer expertise, precision tools, and warranties that ensure long-term satisfaction. Skilled installers are trained to work within legal tint limits and achieve consistent results across all windows.
Auto glass tinting is a detailed, multi-step process that combines technical skill with quality materials. From selecting the right film and preparing the glass to applying, shaping, and curing the film, each phase plays a vital role in the final outcome. By learning how the process works, vehicle owners can appreciate the craftsmanship involved and enjoy the lasting benefits of enhanced comfort, protection, and style.
Another important consideration is legal compliance. Tint darkness and reflectivity are regulated differently depending on location, and these laws are enforced for safety reasons. Professional installers stay up to date with local regulations and help vehicle owners choose films that meet legal standards while still delivering desired benefits. This guidance can prevent costly fines or the need for removal later. Overall, understanding the full scope of the installation process, legal factors, and long-term care allows drivers to feel confident in their decision and enjoy a more comfortable, protected, and visually appealing driving experience for years to come.